When it comes to building a fast, user-friendly website, image compression is one of the most important factors. Large, unoptimized images can slow down your site, increase bounce rates, and negatively impact your SEO rankings. In this guide, we’ll explain everything you need to know about compressing images for website use — without sacrificing quality.
Why Image Compression Matters for Websites
Image compression reduces the file size of images so they load faster on your website. This improves user experience and is a direct ranking factor in Google’s search algorithm. Here are a few key benefits:
- Faster load times — Smaller images mean quicker page rendering.
- Better SEO — Google rewards websites that load fast.
- Lower bandwidth usage — Saves hosting resources and reduces costs.
- Improved mobile performance — Optimized images work better on slower connections.
If your website loads in under 2 seconds, you’ll keep more visitors engaged and boost your conversion rates.
Understanding Image Compression: Lossy vs. Lossless
There are two main types of image compression:
Lossy Compression
This method removes some image data to reduce file size. It can lead to a slight drop in quality, but when done correctly, the difference is barely noticeable. JPEG is a common format for lossy compression.
Lossless Compression
This method reduces file size without losing any image data. While file sizes may not shrink as much as with lossy compression, the image quality remains identical. PNG is a common format for lossless compression.
For most websites, a balance of lossy and lossless compression works best.
Choosing the Right Image Format
Before compressing, choose the right image format:
- JPEG — Best for photos and images with gradients.
- PNG — Best for images with transparency or sharp edges.
- WebP — Modern format that offers excellent compression without quality loss.
- SVG — Best for icons and vector graphics, scales without losing quality.
Whenever possible, use WebP for maximum performance.
Best Practices for Image Compression
Here are some guidelines to follow when optimizing your images for the web:
- Resize before compressing — Don’t upload images larger than needed.
- Use the correct format — Match format to image type.
- Maintain a balance — Don’t over-compress or you’ll get blurry images.
- Automate the process — Use plugins or tools to handle compression automatically.
Tools for Image Compression
You don’t need to be a graphic designer to compress images. Here are some of the best tools:
- TinyPNG — Online tool for PNG and JPEG compression.
- ImageOptim — Mac software for batch image optimization.
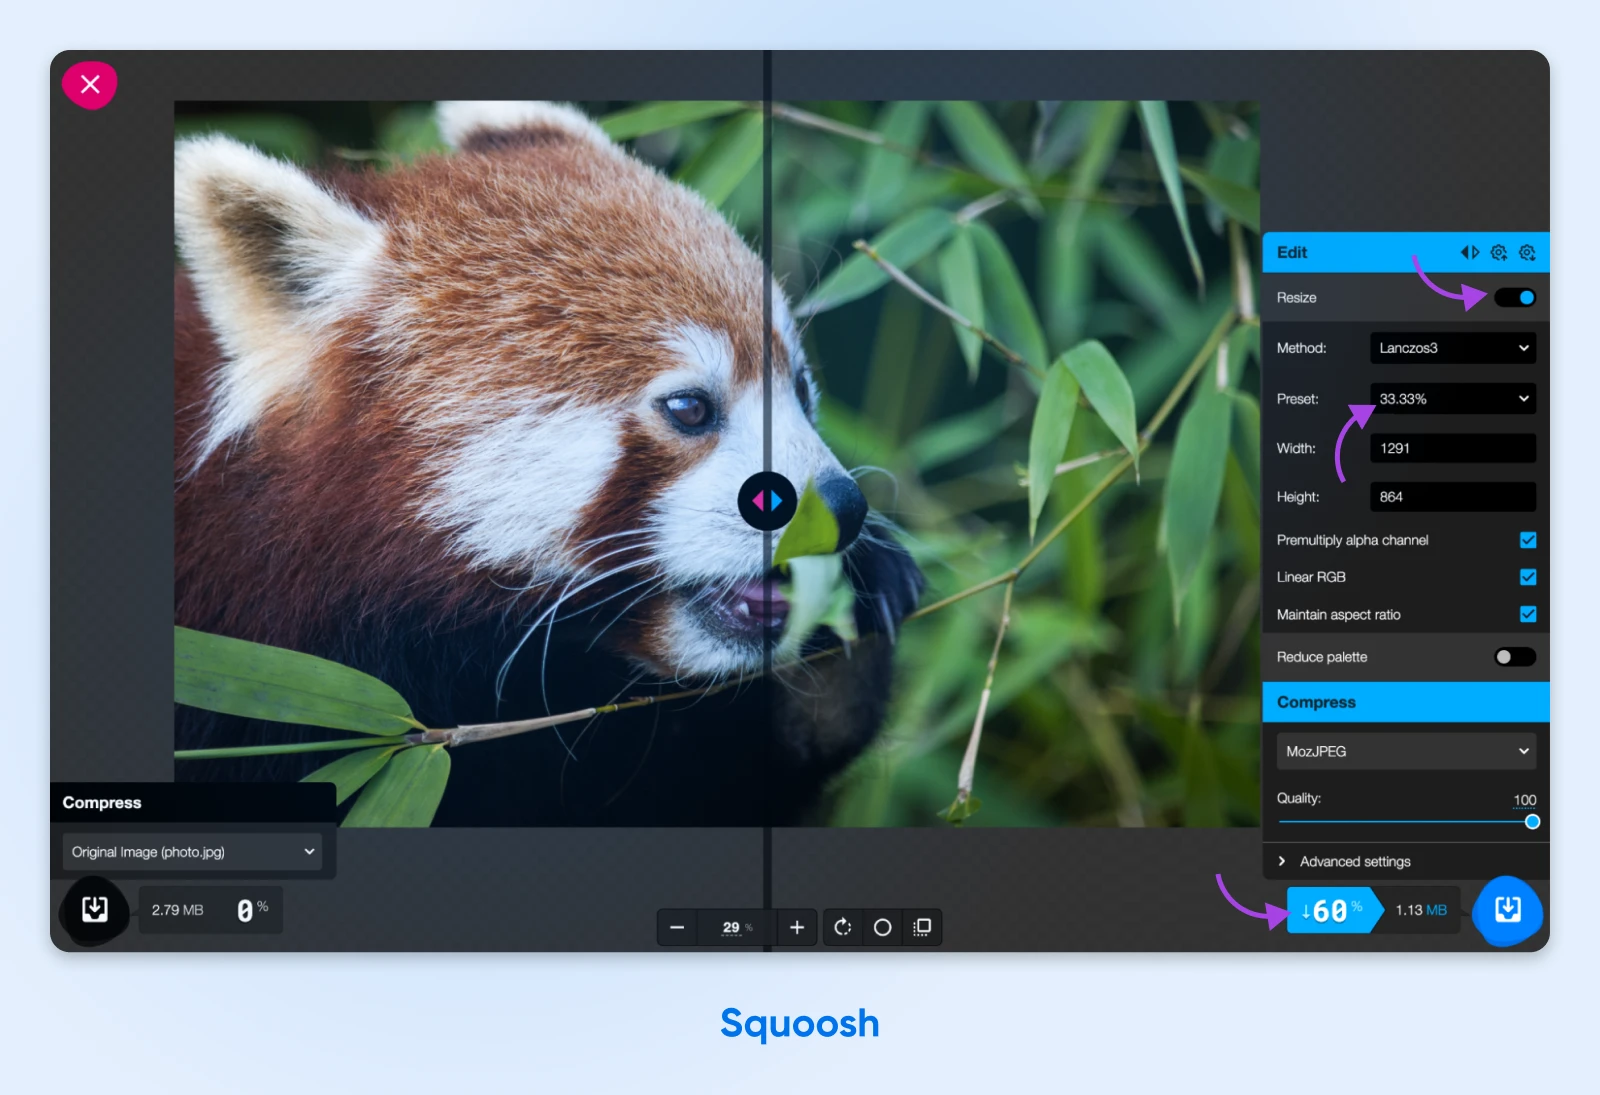
- Squoosh — Free online tool from Google.
- ShortPixel — WordPress plugin for automated compression.
- Kraken.io — Advanced optimization with API support.
How to Compress Images in WordPress
If you’re using WordPress, you can save time by installing an image optimization plugin. Here’s how:
- Install a plugin like ShortPixel or Smush.
- Configure the settings for lossy or lossless compression.
- Enable automatic optimization for new uploads.
- Bulk-optimize existing images in your media library.
This ensures your site stays optimized without manual work.
Balancing Quality and Performance
The key to good image compression is finding the sweet spot between file size and visual quality. Test your compressed images on different devices to ensure they still look great.
A good target for web images is:
- JPEGs: 100 KB or less.
- PNGs: 200 KB or less.
- WebP: Often 50% smaller than JPEG for the same quality.
Testing Your Website Speed
After compressing images, test your site speed using tools like:
- Google PageSpeed Insights
- GTmetrix
- Pingdom Website Speed Test
These tools will give you actionable suggestions to further improve performance.
Conclusion
Image compression is an essential part of website optimization. By using the right tools, formats, and strategies, you can make your site faster, improve SEO, and enhance the user experience. Whether you run a personal blog or an e-commerce store, optimized images will make a noticeable difference.
Leave a Reply