
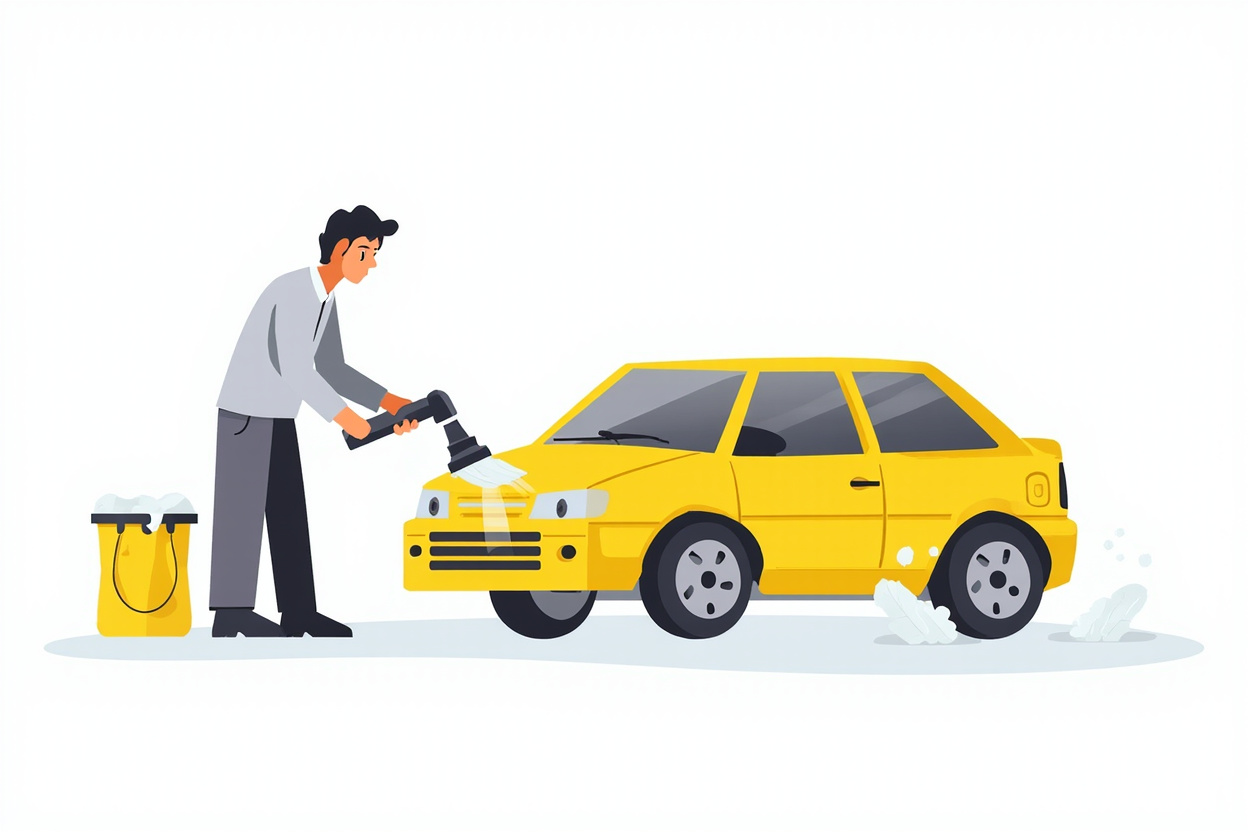
How to Clean and Maintain Your Diecast Model Car Collection in 2026
Your diecast model car collection represents more than just miniature vehicles — it’s a hobby that spans decades, carries memories, and can appreciate significantly in value over time. Whether you’re a casual collector with a few display pieces or a serious enthusiast with hundreds of pristine models, proper cleaning and maintenance is essential to preserving both their appearance and their value.
In this comprehensive guide, we’ll walk you through everything you need to know about caring for your diecast models, from routine dusting techniques to deep cleaning methods, storage solutions, and preventive care that will keep your collection looking showroom-new for decades to come.
Understanding Your Diecast Model Cars
Before diving into cleaning techniques, it’s important to understand what you’re working with. Diecast model cars are manufactured using a method where molten metal (typically zinc alloy or lead) is injected into molds under pressure. This creates the body and major components, which are then assembled with plastic parts, rubber tires, and painted details.
The quality of diecast models varies dramatically. Premium brands like Hot Wheels Premium, Maisto, Minichamps, KYOSHO, and Auto World produce models with superior paint finish, detailed interiors, and realistic weathering effects. Entry-level models from brands like Hot Wheels Mainline or Jada Toys offer more affordable options with varying degrees of detail.
Knowing your collection’s brand and quality helps you determine appropriate care intensity. A limited-edition premium model deserves more careful attention than a mass-produced mainstream piece, though all benefit from proper maintenance.
Essential Cleaning Supplies
Before you start cleaning, gather the right supplies. Using improper materials can cause more damage than good, so invest in quality tools designed for delicate collectibles:
- Soft, lint-free microfiber cloths — multiple sizes for different tasks
- Soft-bristled brushes — natural hair artist brushes or specialized model brushes
- Compressed air cans — for removing dust from crevices
- Mild dish soap — diluted heavily for wet cleaning
- Isopropyl alcohol (70%) — for stubborn spots and sanitizing
- Cotton swabs — for precision cleaning in tight spaces
- Microfiber applicator pads — for applying wax or polish
- Silica gel packets — for humidity control in display cases
- Soft toothpicks — for debris in wheel wells and grilles
- Dampening tissue paper — for gentle surface cleaning
Regular Dusting: The Foundation of Diecast Care
Dry Dusting Technique
For routine maintenance, dry dusting is usually sufficient and carries the lowest risk of damage. Always work from top to bottom to avoid redistributing dust onto already-cleaned areas. Use a soft, high-quality microfiber cloth and employ gentle, sweeping motions following the model’s contours.
Never use household dusters or abrasive cloths — these can scratch paint and damage delicate details. Microfiber works because the ultra-fine fibers grab and hold dust particles rather than pushing them around. For models with complex shapes, use soft-bristled brushes to loosen dust from crevices before wiping.
The Brush Method for Delicate Areas
For models with intricate details — engine bays, wheel wells, grille openings, or undercarriage details — a quality soft brush is indispensable. Natural hair artist brushes work well, as do specialized model brush sets available from hobby suppliers.
The technique: use short, gentle strokes to dislodge dust particles, then follow with a clean microfiber cloth to capture what you’ve loosened. Never press hard on painted surfaces, and avoid brushing directly across decals or tampo-printed designs, as the friction can damage these delicate markings over time.
Compressed Air for Deep Cleaning
Every few months, use compressed air to blow dust from areas that are difficult to reach with cloths or brushes. Hold the model securely and use short, controlled bursts. Keep the can upright — tilted cans release propellant liquid that can damage your model’s finish.
Maintain at least a 6-inch distance from the model when using compressed air. Direct, close-range blasts can dent thin diecast parts or blow away loose components like mirrors, aerials, or small exterior details.
Wet Cleaning: When Your Models Need More
When to Use Wet Cleaning
Routine dry dusting handles most maintenance, but you’ll need wet cleaning when models have been handled frequently (skin oils transfer to metal surfaces), displayed in rooms with higher humidity or pollution, stored for extended periods in less-than-ideal conditions, or acquired secondhand and need thorough cleaning before display.
The Proper Wet Cleaning Process
Fill a clean container with lukewarm water and add just a few drops of mild dish soap. Swirl gently to create suds without creating excessive bubbles. Dip your microfiber cloth in the soapy water, then wring out thoroughly — the cloth should be damp but not dripping. Never submerge diecast models in water, as this can cause rusting of metal components and loosening of adhesives.
Work in sections, cleaning one area at a time before moving to the next. Use gentle circular motions on flat surfaces and follow contours on curved areas. For stubborn spots, allow the damp cloth to sit on the area for 30 seconds before wiping, as this helps loosen grime without aggressive scrubbing.
After cleaning each section, use a second microfiber cloth dampened with clean water (no soap) to remove soap residue. This step is crucial — soap residue left on surfaces can attract more dust and potentially affect paint over time.
Drying Your Models
Never air-dry diecast models — water spots can form and leave mineral deposits on the finish. Instead, use a soft, dry microfiber cloth to gently pat surfaces dry. For hard-to-reach areas, use compressed air on the lowest setting to blow water out of crevices, then follow with a cloth.
Allow models to air-dry for at least 30 minutes in a clean, dust-free area before returning them to display or storage. Even if surfaces feel dry, residual moisture can remain in wheel wells, undercarriage areas, and other concealed spaces.
Dealing with Stubborn Contamination
Fingerprints and Oil Marks
Fingerprints are the most common contamination on handled models. For fresh prints, a slightly damp microfiber cloth is usually sufficient. For older, set-in fingerprints, dampen a cloth with a 50/50 mixture of water and isopropyl alcohol, then gently work the area. The alcohol helps break down skin oils without damaging most paint finishes, though you should test an inconspicuous area first on valuable models.
Label Residue and Adhesive Issues
Many diecast models have price stickers or collector labels that leave adhesive residue when removed. To clean this, apply a small amount of isopropyl alcohol to a cotton swab and gently rub the residue in circular motions. For particularly stubborn adhesive, peanut butter (natural, not processed) applied sparingly can help break down the residue due to its oil content.
After adhesive removal, always clean the area with fresh water to remove any remaining residue before the surface dries.
Tire Care and Rubber Components
Rubber tires on diecast models can dry out, crack, or become brittle over time, especially in low-humidity environments. To maintain tire suppleness, apply a tiny amount of rubber conditioner or tire shine product using a foam applicator. Use only products designed for rubber — petroleum-based products can degrade rubber compounds.
For tires with dust and grime buildup, use a soft brush dipped in mildly soapy water, then dry thoroughly. Never use harsh chemicals or abrasive scrubbers on rubber components, as these can cause deterioration or surface damage.
Display and Storage Solutions
Display Case Options
Proper display is both aesthetically pleasing and protective. Glass display cabinets with UV-protective doors offer excellent visibility while protecting models from dust and harmful light exposure. Avoid placing displays in direct sunlight, as UV rays can fade paint and cause plastic components to become brittle over time.
For open shelving displays, increase your cleaning frequency and consider UV-filtering cover panels that can be placed in front of shelves when the room is not in use.
Environmental Control
Temperature and humidity significantly impact diecast model longevity. Ideal storage conditions are 65-75°F (18-24°C) with relative humidity between 40-50%. High humidity encourages rust on metal components and promotes mold growth, while excessively dry conditions can cause rubber tires to crack and plastic parts to become brittle.
Use silica gel packets in display cases and storage containers to help control humidity. Replace these packets every 3-6 months, or more frequently in humid climates. Digital hygrometers are inexpensive and allow you to monitor conditions in your display areas.
Positioning Models for Long-Term Display
When displaying models long-term, avoid positions that put constant stress on certain components. Wheels should rest flat on surfaces rather than on edges. Doors should be fully closed rather than partially open, as constant stress on hinges can cause misalignment over time. If displaying with moving parts (steering, opening doors), occasionally change their position to prevent mechanical stress.
Preventive Care Strategies
Handling Best Practices
The best cleaning is preventing the need for cleaning in the first place. Always wash and dry your hands before handling models, or use cotton gloves when handling valuable pieces. Hold models by non-painted areas like the chassis or wheel wells rather than painted body panels. This reduces the transfer of skin oils and minimizes the risk of accidental scratches from fingernails.
When moving models for cleaning or display changes, hold them securely with both hands and avoid rush movements that could result in drops or collisions.
Creating a Cleaning Schedule
Consistent maintenance is easier than occasional deep cleaning. Establish a routine: light dusting with microfiber cloths weekly for displayed models, thorough brushing of crevices monthly, wet cleaning quarterly for frequently handled pieces, and comprehensive inspection and cleaning every six months.
Keep a log of your cleaning schedule and any issues discovered during cleaning, such as loose wheels, fading paint, or other concerns that may need addressing.
Collector’s Insurance and Documentation
For serious collectors, proper documentation protects your investment. Keep records of each model’s purchase price, condition, and any restoration work performed. Photograph valuable pieces from multiple angles and store images in cloud backup. Consider collector’s insurance through specialty insurance providers, as standard homeowner’s policies often have limited coverage for valuable collections.
Common Mistakes to Avoid
Many collectors inadvertently damage their models through well-intentioned but misguided cleaning practices. Never use paper towels, tissues, or toilet paper — these scratch delicate finishes because they contain wood fibers. Avoid abrasive cleaners, scrub brushes, or any product not specifically designed for delicate surfaces. Never submerge models in water, as this causes internal rust and component separation. Don’t use petroleum-based products on rubber components, as these accelerate deterioration. Avoid cleaning in direct sunlight or windy areas where dust can redeposit on freshly cleaned surfaces.
Steam cleaning is sometimes recommended for automotive parts, but this should never be used on diecast models. The heat and moisture can cause metal warping, paint blistering, adhesive failure, and permanent damage to plastic and rubber components.
Restoring Damaged or Neglected Models
Assessing Condition
Before attempting restoration, honestly assess whether a model is worth the effort. If paint is significantly chipped or faded beyond repair, if structural damage has occurred (dents, bends, broken parts), or if mechanical components are seized or missing, restoration may not be cost-effective. In such cases, consider purchasing a replacement in better condition rather than investing significant effort into a lost cause.
Minor Restoration Techniques
For models with minor issues — light scratching, dulled finish, loose parts — you can often perform successful restoration at home. Light surface scratches can sometimes be buffed out using a very fine polishing compound designed for metal surfaces. Apply with a soft cloth using minimal pressure and circular motions, then wipe clean and assess results.
Loose components can often be re-adhered using appropriate adhesives. For metal-to-metal joints, use a thin CA (cyanoacrylate) glue. For metal-to-plastic junctions, use a flexible adhesive that can accommodate different expansion rates. Always test adhesives on inconspicuous areas first, as some can damage paint or leave visible residue.
When to Seek Professional Restoration
For valuable or rare models requiring significant restoration, consider using professional diecast restoration services. These specialists have access to specialized paints, replacement parts, and techniques that can restore models to exhibition quality. While expensive, professional restoration can significantly increase the value of rare or limited-edition pieces.
Building a Maintenance Kit
Prepare a dedicated maintenance kit for your collection so you’re always ready for cleaning sessions. Include quality microfiber cloths in multiple sizes, soft brushes for different applications, compressed air (stored safely), mild soap for wet cleaning, isopropyl alcohol for stubborn spots, cotton swabs and toothpicks for precision cleaning, silica gel packets for humidity control, small containers for organized storage, a small LED flashlight for inspection, and a soft work surface for cleaning.
Store your kit in a clean, dry location and replenish supplies as they run low. A well-maintained kit makes regular cleaning sessions quick and efficient rather than a chore.
Long-Term Collection Preservation
Your goal is to keep your collection in display condition indefinitely, which requires consistent care over years and decades. Keep learning about new cleaning products and techniques as they become available, stay current with restoration methods used by serious collectors, document your collection thoroughly with photos and condition records, and connect with other collectors to share knowledge and experiences.
Consider the long-term goals for your collection — if you eventually plan to sell or pass on your models, maintaining them in excellent condition preserves their value. If you’re building for personal enjoyment, focus on display presentation and the satisfaction of a well-maintained collection.
For premium diecast models and accessories, check out
the official Diecast model collection
for authentic collector-grade diecast cars, limited editions, and exclusive releases for serious enthusiasts.
Frequently Asked Questions
Can I use polish or wax on diecast model cars?
Yes, but only products specifically designed for metal surfaces and automotive applications. Use a very small amount on a microfiber applicator pad, work in circular motions, and buff to a shine with a clean microfiber cloth. Avoid getting any product on rubber tires, plastic windows, or interior components.
How often should I clean my displayed models?
Light dusting weekly and more thorough cleaning monthly is ideal for displayed models. Models in storage need only be checked and lightly cleaned every 3-6 months. The key is consistency — regular light cleaning prevents the need for intensive restoration.
What’s the best way to remove dust from wheel wells?
Soft-bristled brushes work best for wheel wells. Use compressed air for initial debris removal, follow with a brush to loosen remaining dust, then use a slightly damp cotton swab for final cleaning. Ensure wheels are completely dry before returning the model to display.
Should I use gloves when handling my collection?
For valuable or rare models, cotton gloves are recommended to prevent fingerprint transfer and accidental scratches. For everyday handling of common models, clean hands are usually sufficient. Avoid latex gloves, as some people find the powder inside can transfer to model surfaces.
Can I display diecast models in direct sunlight?
No — direct sunlight causes paint fading, plastic brittleness, and rubber deterioration over time. Display models in areas with indirect lighting or use UV-protective glass on display cases. Even brief sun exposure over years can significantly damage a collection.
Protect Your Collection for Years to Come
Quality diecast models deserve quality care. Start your maintenance routine today and preserve your collection’s beauty and value.
Disclosure: This site contains affiliate links. We earn a commission at no extra cost to you.
Leave a Reply